Short answer
The demo footage shows the W-500 shotgun in a combination-locked cabinet in the motel gift shop. Player reports connect its combination to a motel guest contacted by payphone. Use the guest-room clue for the call, then use the locker combination at the cabinet: they are different numbers.
PC demo; exact recording builds and earliest unlock requirements are unknown. The screenshots below are from two creators’ recordings, not our own playtest. Keep the room clue and combination from your own game.
1. Use the guest-room phone entry
At the payphone, read the Crimson Bear Guests contact in the address book. The recording shows a room-number suffix on this entry and a separate Mr Jackman save contact. A player who missed the weapon reported looking for a phone inside the motel instead of using the payphone.
Read the contact on the right
Use the guest-room entry with the room clue you found in your game.
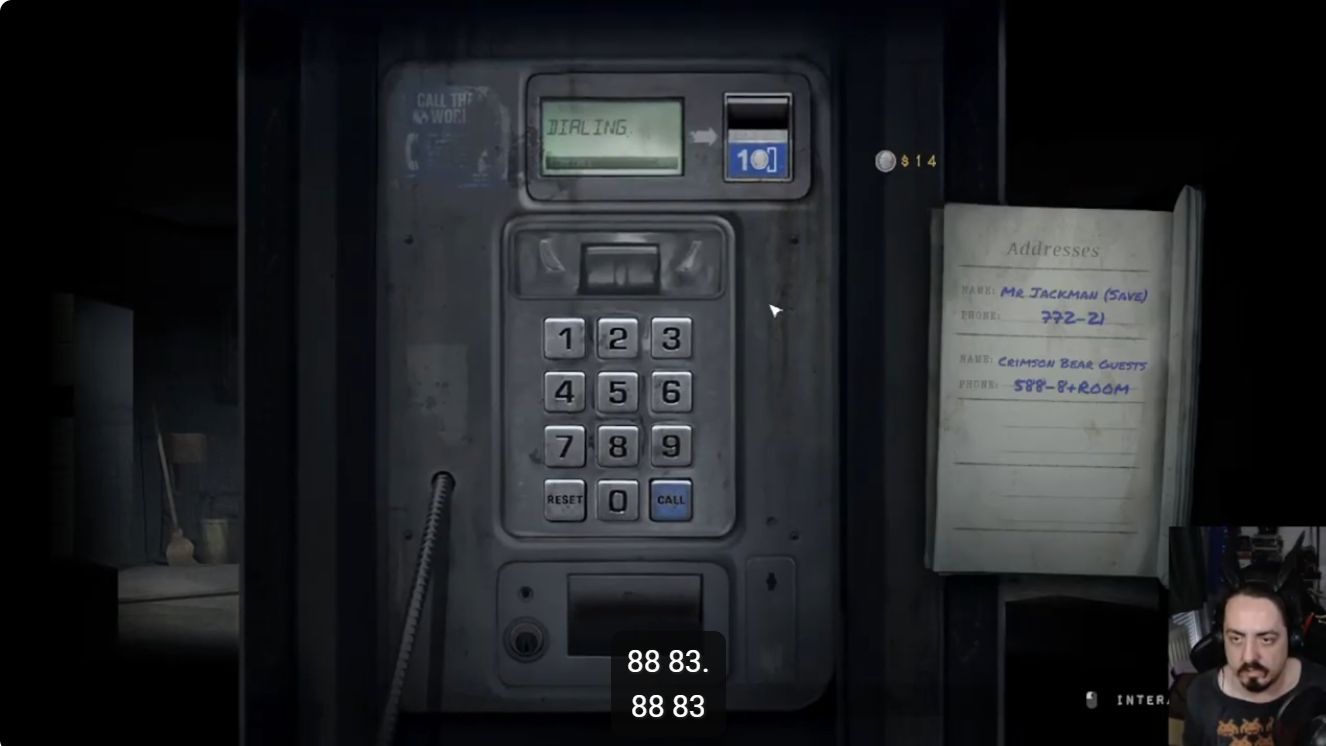
PC demo footage · exact build unknown. Capture from By Pen and Paper · Watch this moment (1:11:20) ↗ · Full-size image.
- Look for this
- The lower handwritten contact is Crimson Bear Guests; the upper contact is marked Save.
- Before moving on
- Reach the relevant guest and follow the dialogue until you have the locker clue.
- If it does not match
- If you reach the save interaction, you have used a different contact. Recheck the label and room clue.
The weapon-focused recording also shows the caller offering the code in exchange for a favor around 18:06, followed by an invitation for a drink around 18:16. Read through the conversation; the phone-book screenshot alone does not establish that the combination has been obtained.
Watch on YouTube · By Pen and Paper ↗
2. Find the tall locker in the gift shop
In the checked weapon episode, the player enters the gift shop and approaches the tall cabinet at its right-hand end, beside a chair. Animal displays help distinguish this room from the phone and storage area.
Identify the cabinet, not the storage chest
Find the tall metal gun cabinet at the end of the gift shop.
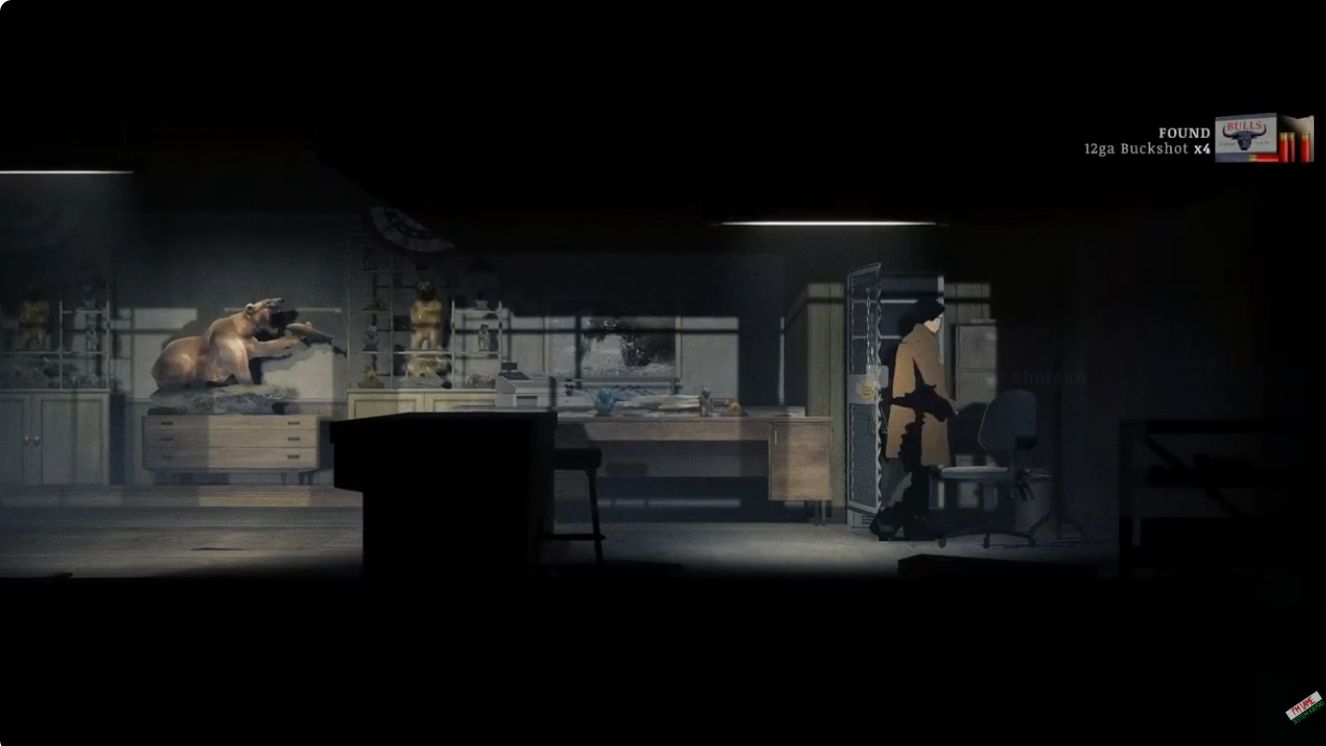
PC demo footage · exact build unknown. Capture from Jestem kiepski · Watch this moment (20:33) ↗ · Full-size image.
- Look for this
- The chair immediately beside the cabinet and the animal displays across the room.
- Before moving on
- Interacting with the locked cabinet opens a four-wheel combination interface.
- If it does not match
- A storage chest beside a payphone is a different object. Return to the gift shop and compare the cabinet’s surroundings.
3. Enter the locker combination
Turn the four number wheels to the combination supplied by your clue. Do not enter the phone number here. The screenshot is from the middle of the player’s input and should not be copied as a solution.
Use the four-wheel lock
Match all four wheels to your locker clue.
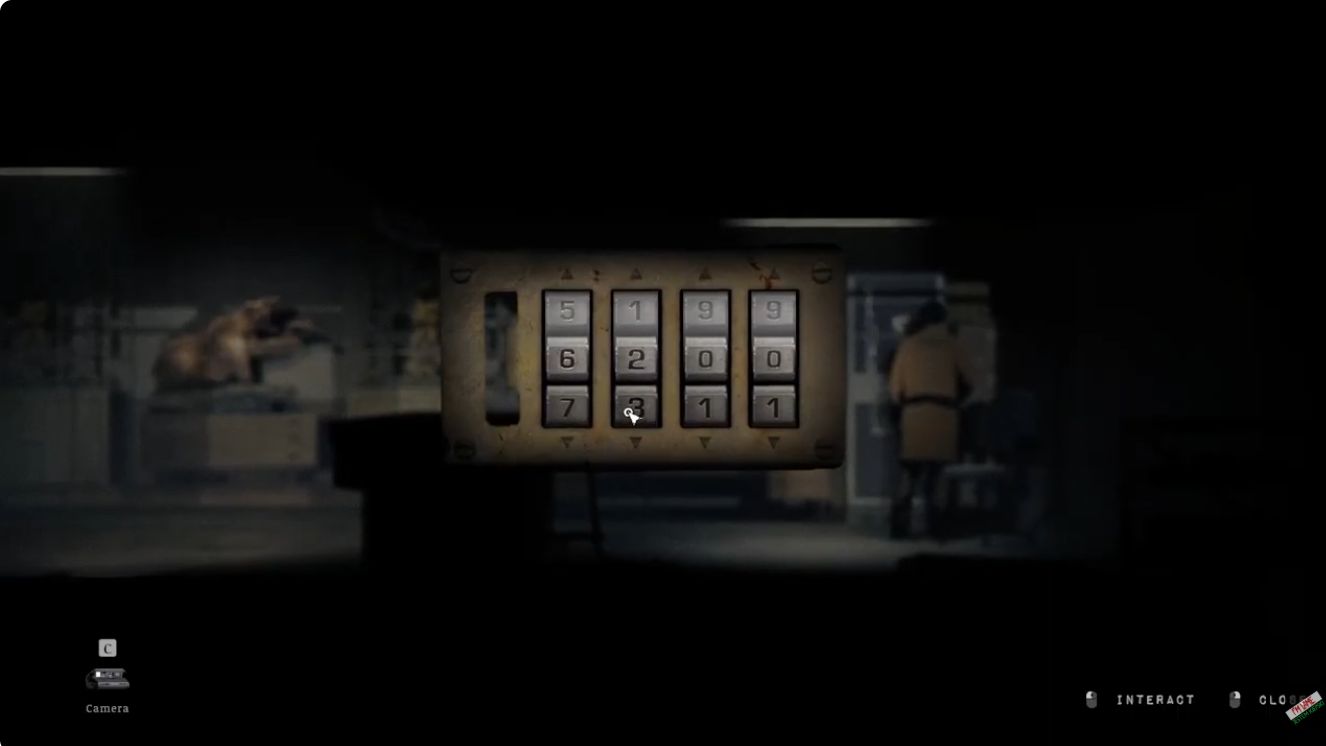
PC demo footage · exact build unknown. Capture from Jestem kiepski · Watch this moment (20:23) ↗ · Full-size image.
- Look for this
- Four number columns, each with its own active digit.
- Before moving on
- The cabinet door opens and its contents become available.
- If it does not match
- If it remains locked, compare the selected digits with the actual clue. We have not established a code that works in every build.
4. Take the W-500 shotgun
After the locker opens, interact with the weapon and select Take on the W-500 SHOTGUN prompt. Check your inventory afterward. Opening the cabinet or collecting buckshot is not the same as taking the gun.
Confirm the weapon pickup
Select Take on the W-500 SHOTGUN prompt.
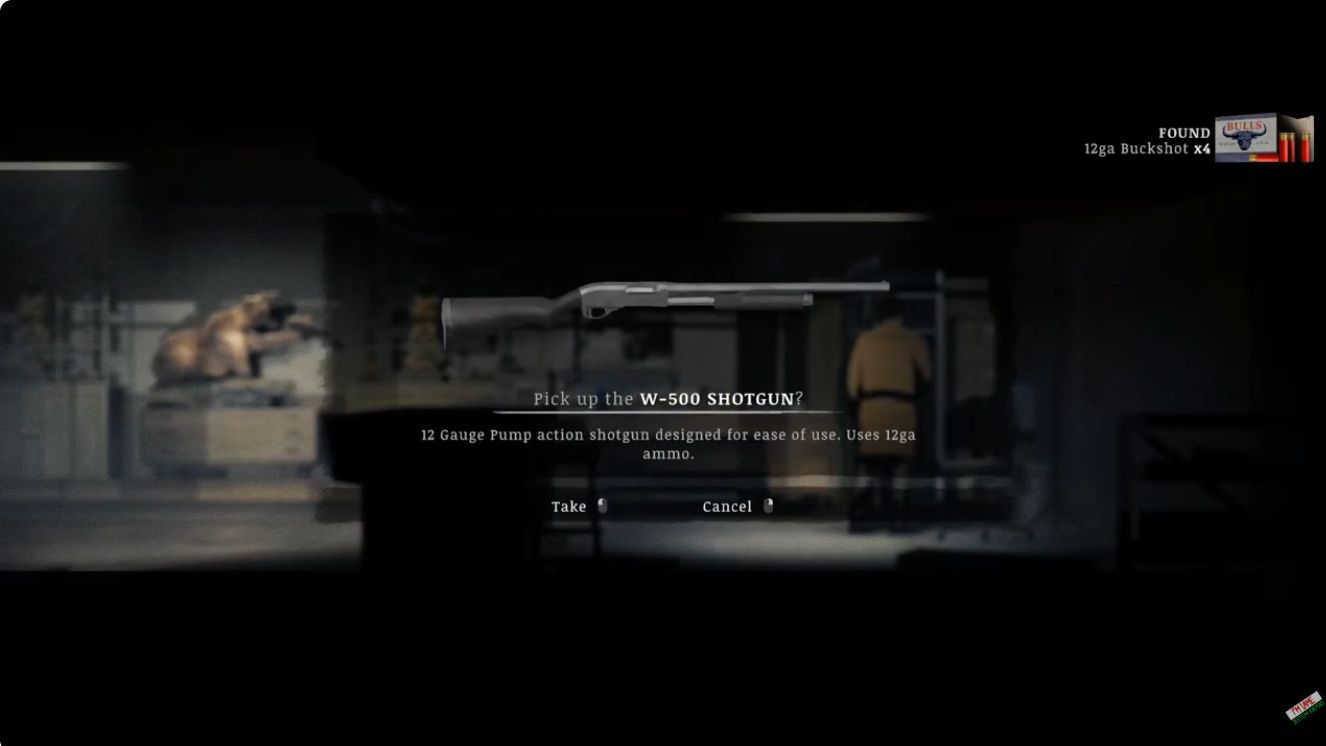
PC demo footage · exact build unknown. Capture from Jestem kiepski · Watch this moment (20:38) ↗ · Full-size image.
- Look for this
- The weapon name and the Take / Cancel choices in the center of the screen.
- Before moving on
- The shotgun appears in your inventory after confirming the pickup.
- If it does not match
- If you canceled, interact with the weapon again. If the game reports an inventory restriction, address the displayed restriction before trying again.
Watch the locker and pickup sequence
Watch on YouTube · Jestem kiepski ↗
After you have the weapon
The developer’s June 12 Demo Patch 2 notes added shotgun destruction of wooden barricades. That does not establish that metal fences or every locked object can be opened with it.
Can I copy the numbers in the lock screenshot?
No. That frame shows the player partway through entering the combination. Use the clue from your own game.
Does this cover the full game?
No. These are PC demo recordings. Retail locations, prerequisites and balance need separate checking.
Sources & scope
Frames and surrounding scenes checked October 5, 2026. Creator credit and exact timestamps accompany every capture. This guide combines two recordings and community reports; we have not independently reproduced the complete route.